

Card Aging
Enable
This feature is included in all paid plans, but it must be enabled to start using within your organization. The board administrator can enable this feature for the board (see the steps below).
Access
- Click the Board Settings icon in the top/right navigation.
- Click Aging from the left side panel under the For Administrator section.
Use
1. When you first access this board setting, you will need to enable it for each board that you need to have card aging.
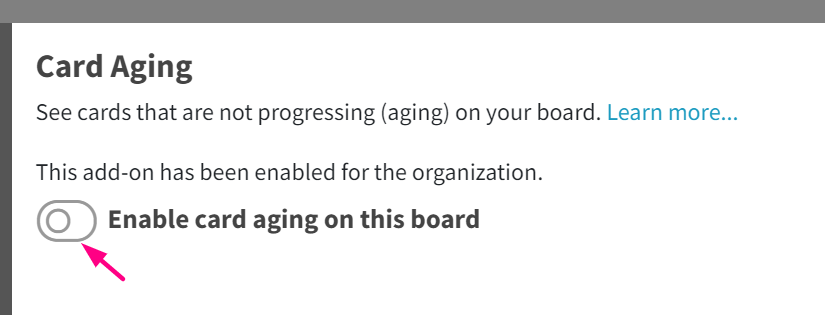
Click the toggle “Enable card aging on this board” to turn it on.
2. Once enabled for a specific board, you will see the 3 levels of card aging. Each level will be represented by a different color that is shown as a preview on this screen. By default, they are set to 7, 14, and 21 days.
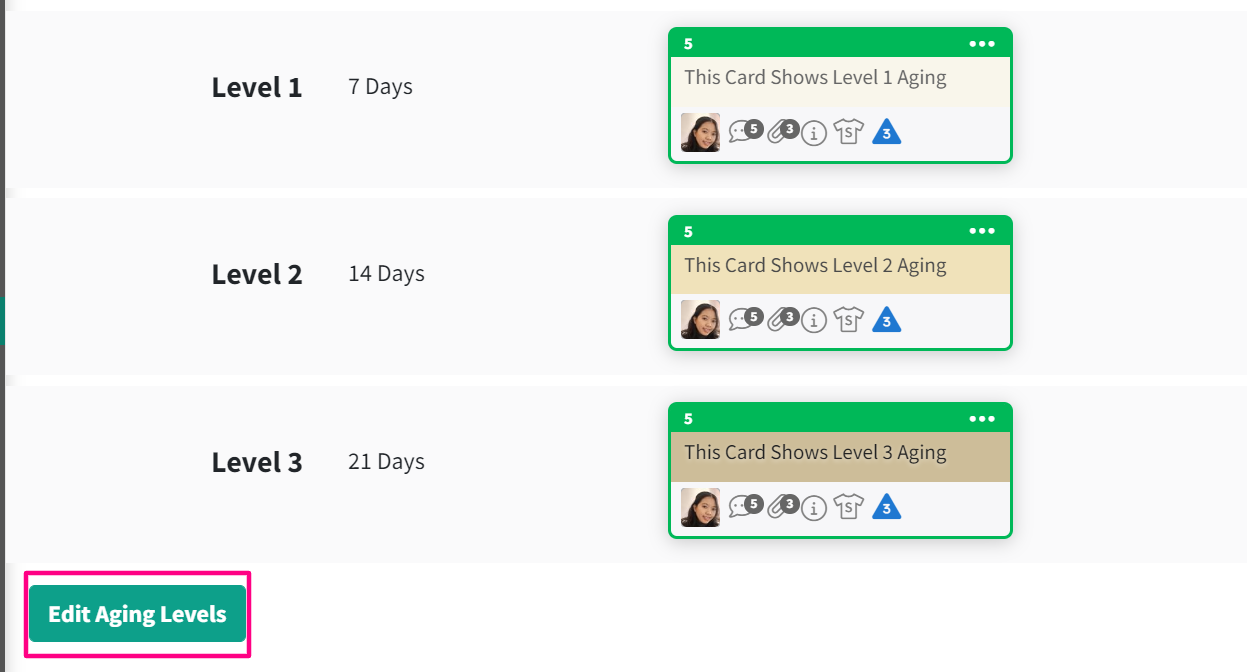
3. Click the “Edit Aging Levels” button to modify the 3 aging levels.
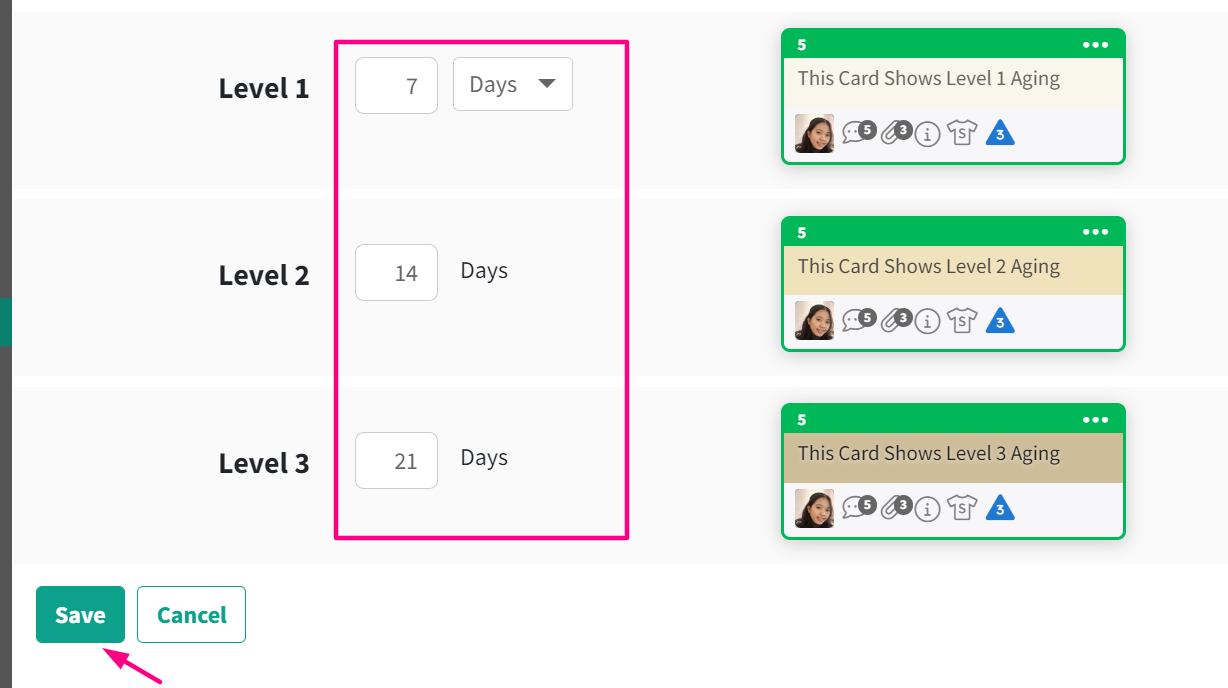
Once in edit mode, you can enter or increase/decrease each card aging level to the number that you need. Please note that Level 1 must always be less than Level 2 and Level 2 must always be less than Level 3.
4. Click the ‘Save‘ button at the bottom to save the changes you make.
Related Information:


