

Attachments on Cards
A great way to optimize the efficiency and usefulness of your Kanban boards is by adding attachments to your Kanban cards. Kanban Zone has made attaching and managing card attachments flexible and straightforward by allowing you to attach files and images to your cards from various sources and methods including:
- Google Drive
- Dropbox
- OneDrive
- Attach by URL
- Upload from Computer
- Paste from Clipboard
Upload an Attachment
By default, you can manage ALL attachment functions in the Attachments panel on the right side of any card.
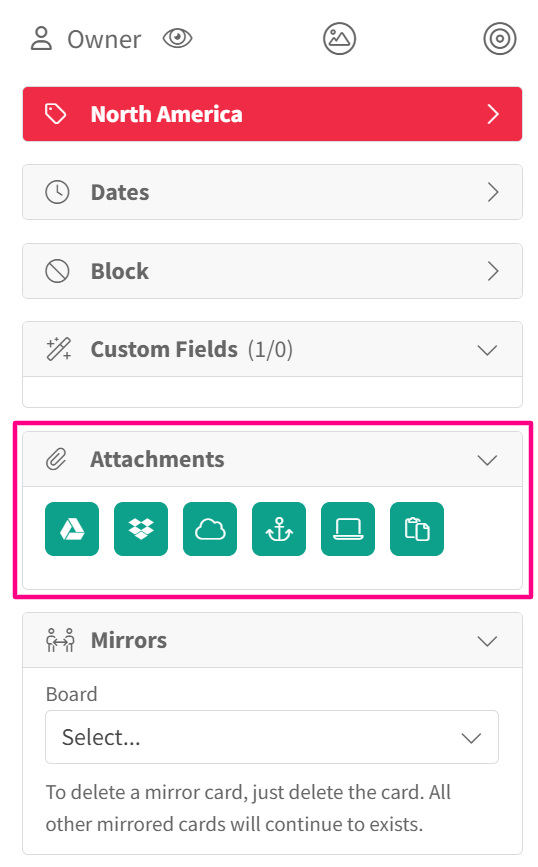
By default, all attachment sources are enabled. The file source options may differ depending upon the source options you have enabled/disabled in your Account Settings. To manage your options navigate to Account Settings > Organization > [name of your organization] > Add-Ons.
1. File Hosting Services
- In the Attachments panel tab, click one of the file source icons to upload an attachment from Google Drive, Dropbox, or OneDrive.
- Google Drive
- Dropbox
- OneDrive
- Navigate through your file host and select the file you would like to attach.
If this is your first time using the file host, a pop-up window will appear and you will need to follow the appropriate steps to grant access.
2. Attach by URL
- In the Attachments panel click the Attach by URL icon .
- An Add a Link text box will appear, allowing you to type or paste the URL of the file you wish to attach and add an optional Title.
- Click the Add Link button to add the link to the card.
3. Upload from Computer
- In the Attachments panel, click the Upload icon .
- A window will pop up, allowing you to access your computer files. Find the file you would like to upload and click Open.
4. Paste from Clipboard
- Once you have copied an image to your clipboard, click the Paste from Clipboard icon in the Attachments panel. This will automatically attach the current file from your clipboard.
Upload size is limited to 150 MB for Enterprise plans, 50 MB for Start-Up plans and 0 MB for Free plans. The Free plan only allows attachments from an online cloud storage or through a URL, with no option to upload from the computer.
Preview an Attachment
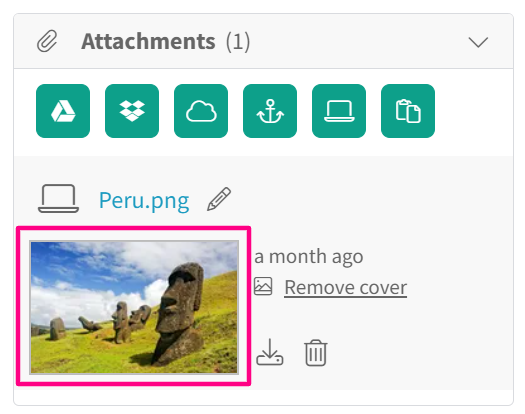
- To preview files attached to a card, navigate to the Attachments panel.
- Scroll to find the attachment you wish to preview and click on the Image Thumbnail to open the image or PDF in preview mode.
Once in Preview Mode, you can use the left and right arrow keys to navigate through multiple image and PDF attachments.
The attachment Preview function is only available for images and PDFs. All other attachments must be downloaded.
Rename an Attachment
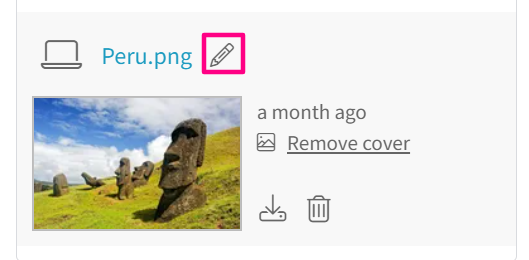
- To rename a card attachment, navigate to the Attachments panel.
- Scroll to find your attachment and click the corresponding Edit icon.

- Upon clicking the Edit icon, the current filename will appear in an editable text box, allowing you to change the name of the attachment.
- Once you have finished renaming your attachment, simply press Enter or click the green Checkbox for the renaming to take effect or the red X to cancel the name change.
Download an Attachment
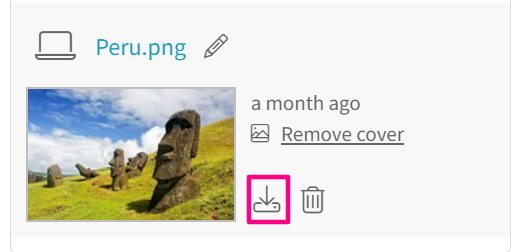
- To download a card attachment, navigate to the Attachments panel.
- Scroll to find the attachment you would like to download. Click on the corresponding Download icon to the right.

- Once you click the Download icon, a “Save As” window will appear. Select a location to download the attachment and click Save.
Delete an Attachment
- To delete an attachment from a card, navigate to the Attachments panel.
- Scroll to find the attachment you would like to delete and click the corresponding Delete icon to the right.

- Upon clicking the Delete icon, a small dialog box will appear. Click Delete to confirm your deletion.


