

Edit a Task
Once a checklist has been added to a card, you can edit the checklist and the tasks anytime. To edit a checklist, open the card where you want to edit a checklist and go to the Tasks panel.
Edit Checklist Name
To edit the checklist title, click on the checklist name. Type the new checklist name then press Enter.
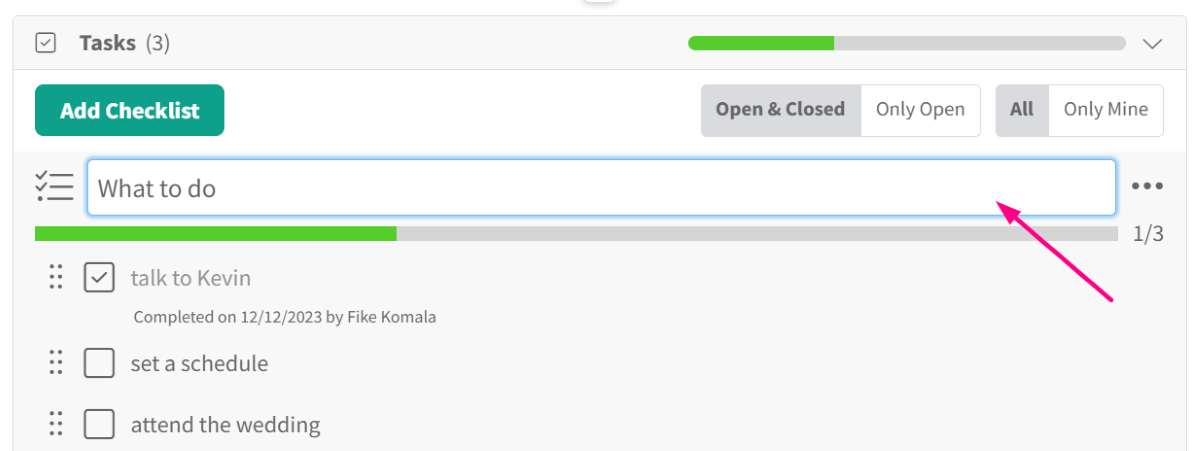
Edit Task Name
To edit a task name, click on the name of the task you want to edit. Type the new task name then click on the ![]() button or press Enter to confirm the new name.
button or press Enter to confirm the new name.

Complete a Task
When you complete the task, simply click on the box on the left of the task. The task will now be marked completed, and the progress bar above the tasks will show the current progress of the checklist. You can also unmark a task by clicking on the checked box.

If you need to write on a new line for a task, press Shift + Enter.
Reorder Tasks
To reorder the tasks in a checklist, click and drag the task using the Reorder ![]() icon at the leftmost part of the task’s name.
icon at the leftmost part of the task’s name.
Actions on the Task
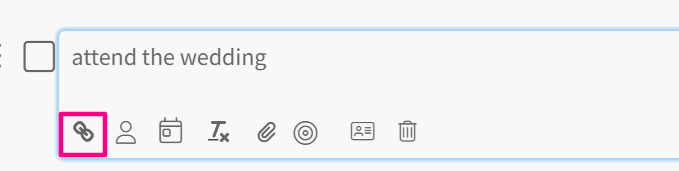
1. Add Link to Text
To add a link to some parts of your task, select the text that you want to add the link to, then click the Link icon. Type in the URL of the link, and click Enter or Save.
2. Assign a Task
To assign a task to a team member, click on the task, and then click on the Assign Task icon under the task.
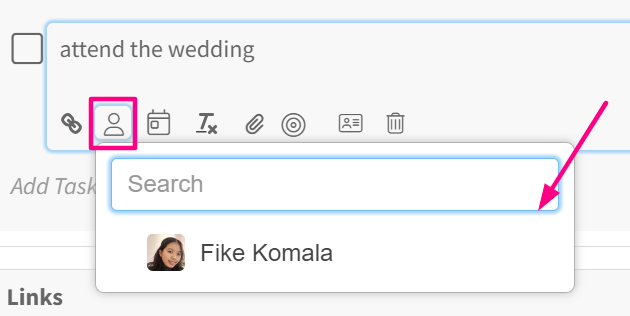
- The Assign Task dropdown will open. Click on or search for a team member’s name from the selection to assign the task.
Once tasks are assigned, each task will have the avatar of the assigned team member showing up at the rightmost part of the task’s name and replacing the Assign Task icon.
Reassign/Remove Assignee from Task
To reassign a task or remove an assignee from it, click on the team member’s avatar at the rightmost part of the task name or under the task. A dialog box will appear listing the names of team members. To remove the assignee, click the Clear option above the search bar. To reassign, click on a different team member’s avatar.
3. Add/Edit a Task Deadline
To help you and your team stick to deadlines for each task, you can set a deadline for each task.
- Click on the task and then the Calendar icon under the task.

- A calendar dropdown box will open. Select the date you want to set as the task’s deadline. Upon selecting a date, a box will appear on the right side of the task to reflect the deadline for the task.

- To remove the deadline set for a task, click and block the entire date, then press Backspace or Delete.
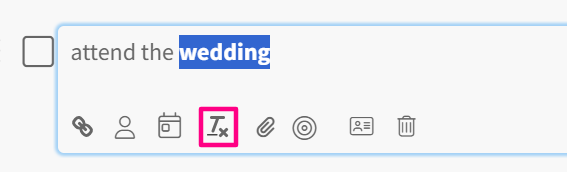
4. Deformat Text
If you have some formatting on your text and want to remove it, select the text and click the Deformat icon.
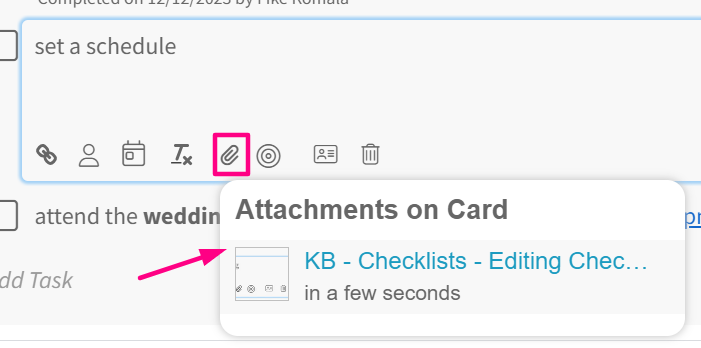
5. Add an Attachment
If you have an attachment in your card, you can add it to the task as a link by clicking on the Attachment icon.
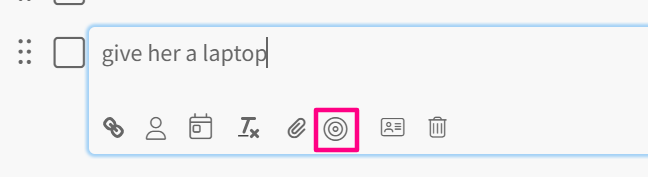
6. Add to ‘My Focus’
You can add a task to your ‘My Focus’, which can then be accessed from My Zone. Choose the task you want to focus on, then click the ‘My Focus’ icon.
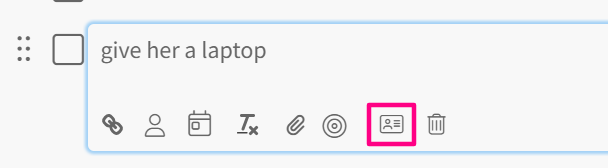
7. Convert Task to Card
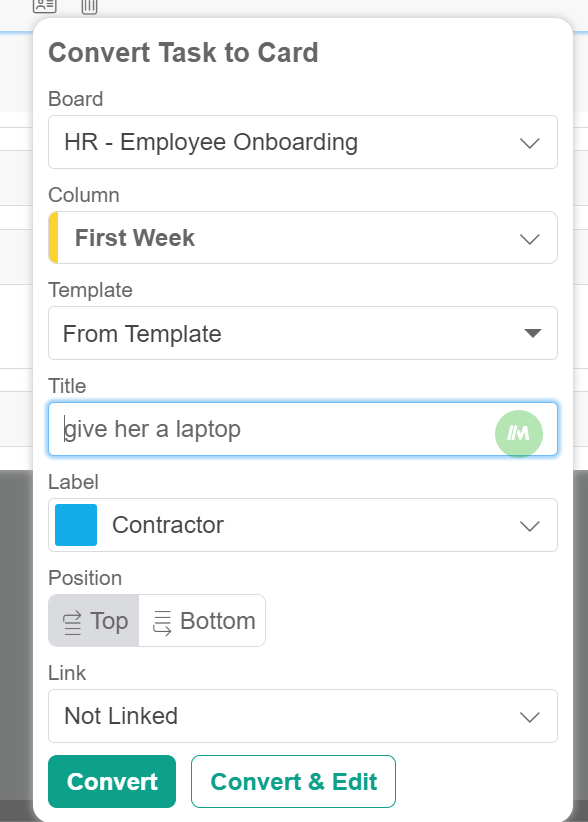
If your task is too big and it needs its own card, you can convert it to a card by clicking the icon.
It will open a popup dialog that allows you to set up your card.
8. Delete a Task
- To delete a task from a checklist click on the Delete icon at the rightmost part of the task’s name.

- The Delete dialog box will open where you will need to confirm if you want to delete the task. Click on the Delete button and the task will be removed from the checklist.

Related Articles:


